
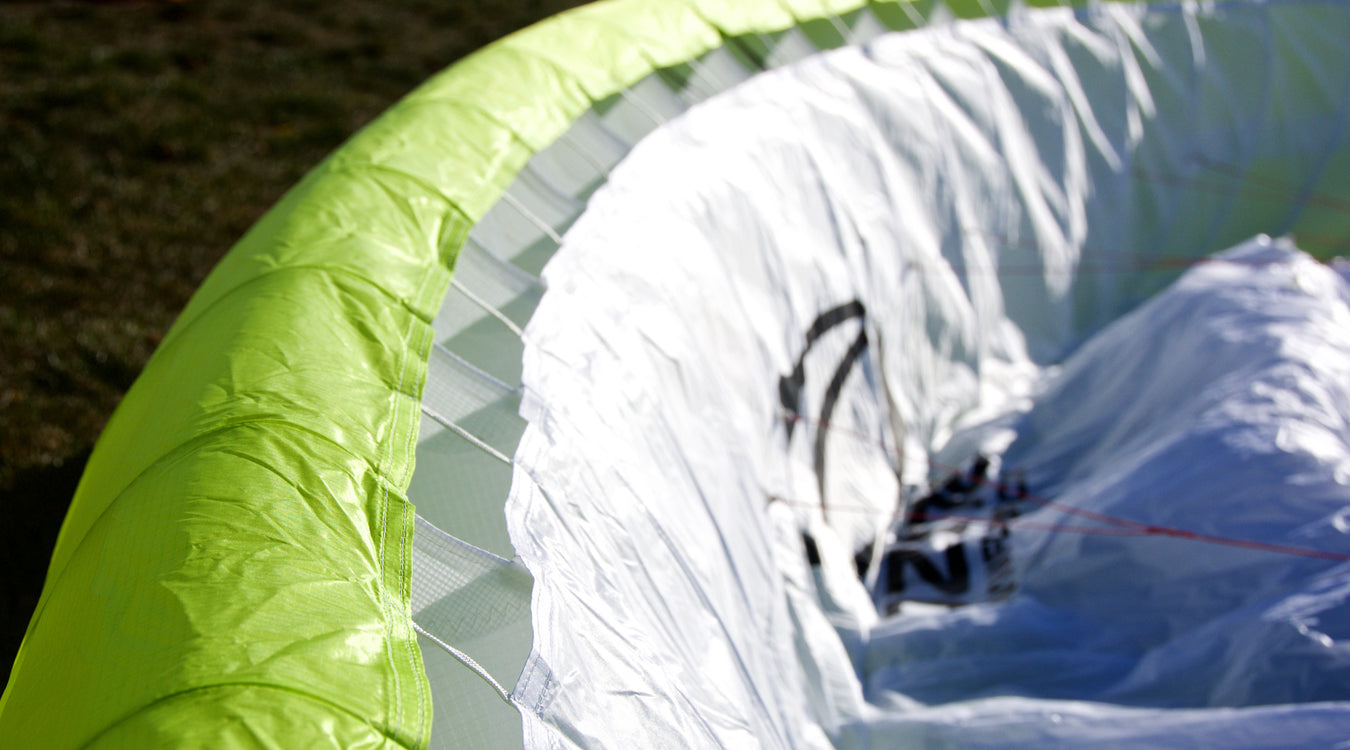
Gliders
Offering you the latest models from leading manufacturers.


Offering you the latest models from leading manufacturers.
When all else fails, don't let your reserve fail you.
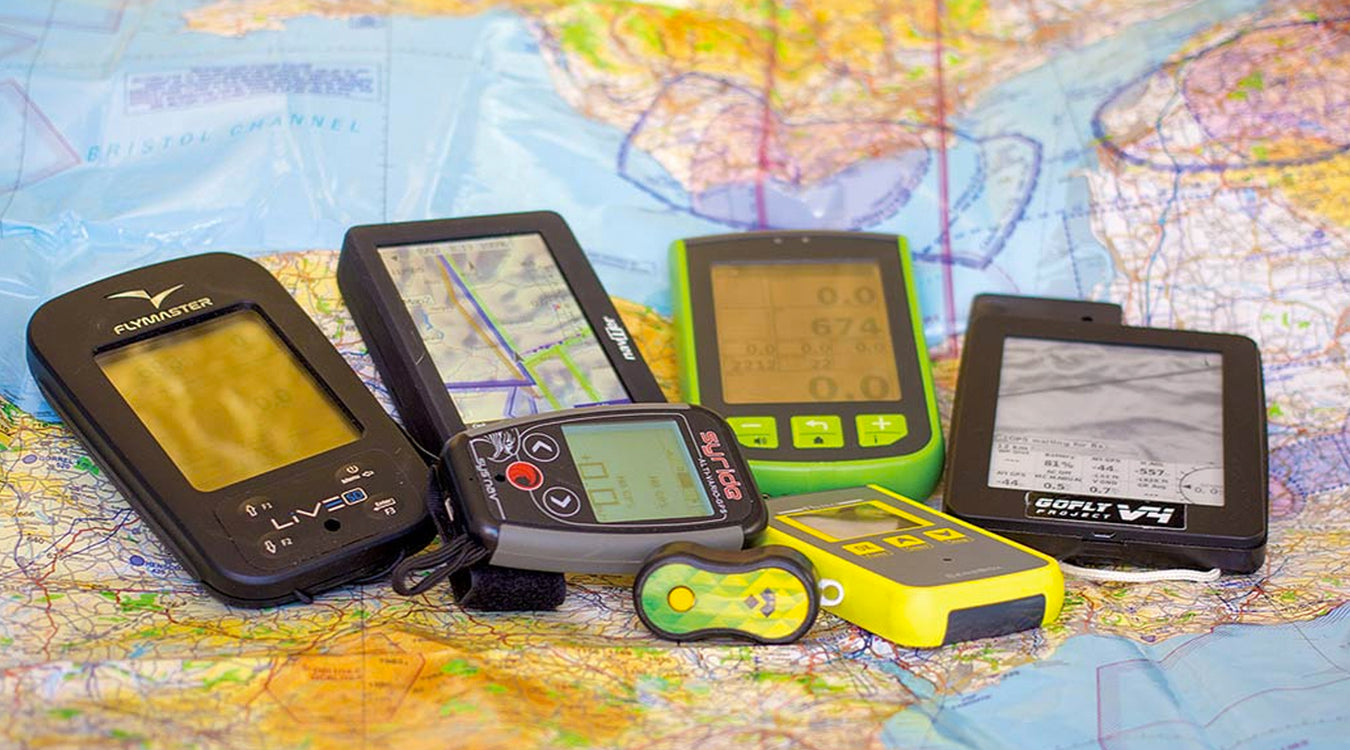
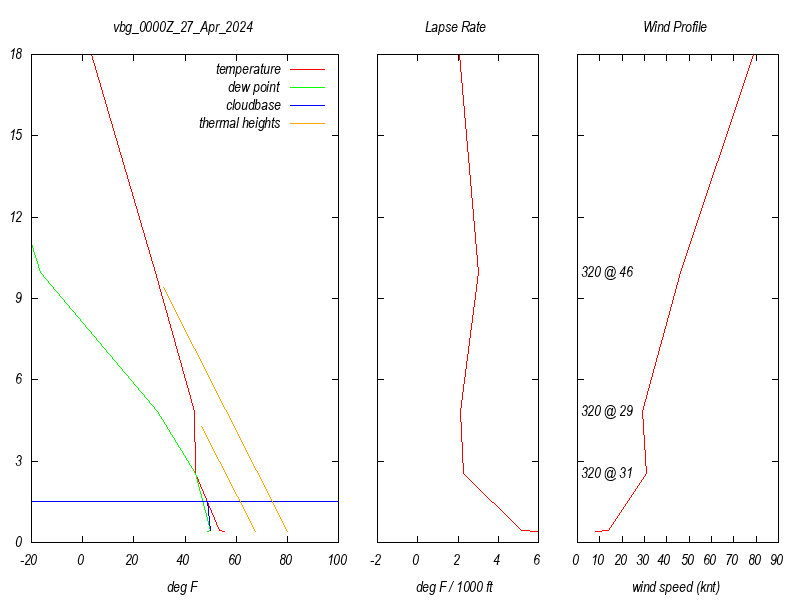
Finding you the right tools to help you fly at your maximum potential.
Finding your perfect fit for comfort and performance.

Inspected and ready to fly!
 Save 33%
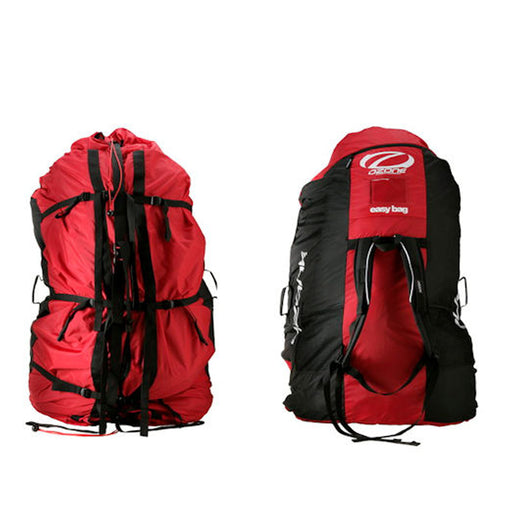
Easy Bag (Stuff Bag) With the many compression straps on the sides of the Ozone Easy Bag, you can easily use it for the smallest Mojo solo glider...
View full details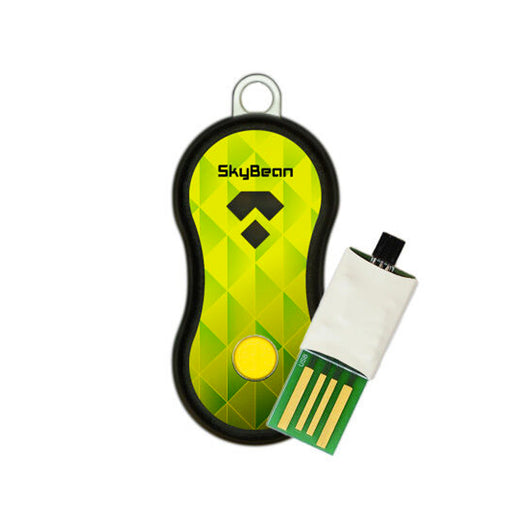 Save 20%
SkyBean2 learned and improved all good skills from its older brother SkyBean vario. This compact audio vario is durable and reliable flight assist...
View full details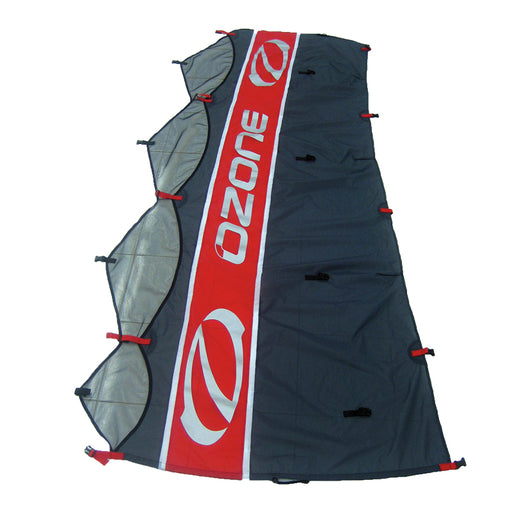
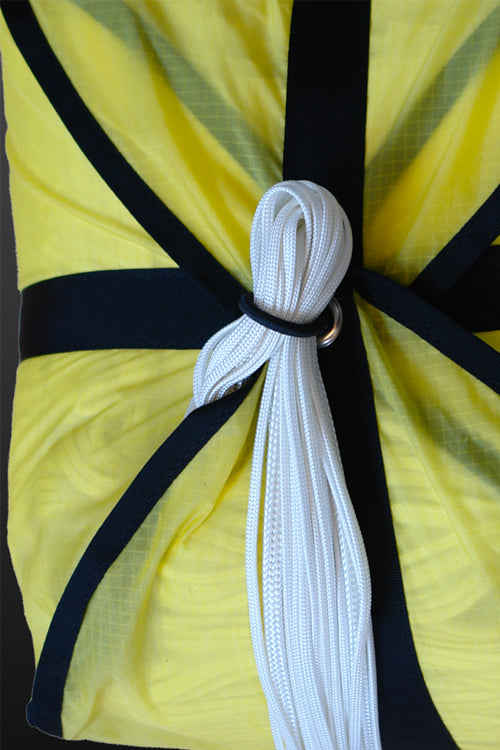
A lightweight version of the Saucisse pack. This compression bag is a low fat version of the Saucisse. We hope it will satisfy the pilots who find...
View full details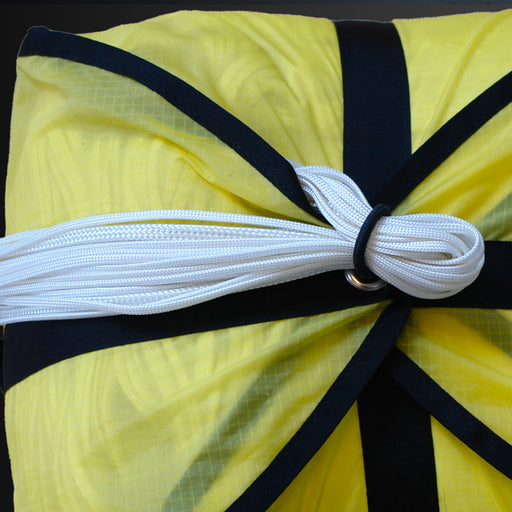
Everyone needs an Angel… even though no one really wants to use theirs. However, the fact is that when the time comes, the most important factors ...
View full details